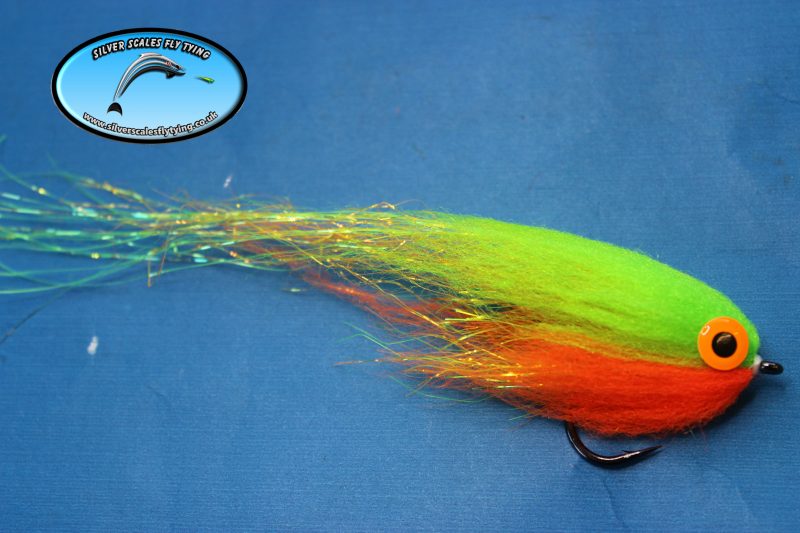
The following Step by step is for a really easy and fun to tie Baitfish pattern that uses barely any material making it super light and easy to cast and yet creates a great profile and movement! This fly will translate into larger or smaller versions depending on your requirements.
You will need:
Silver Scales Big fish fibre x 2 colours, Sybai Trilobal wing hair x 2 colours, a bit of dubbing, Veevus 140 thread, some flash and some eyes and a Sakuma 420 hook in your choice of size.
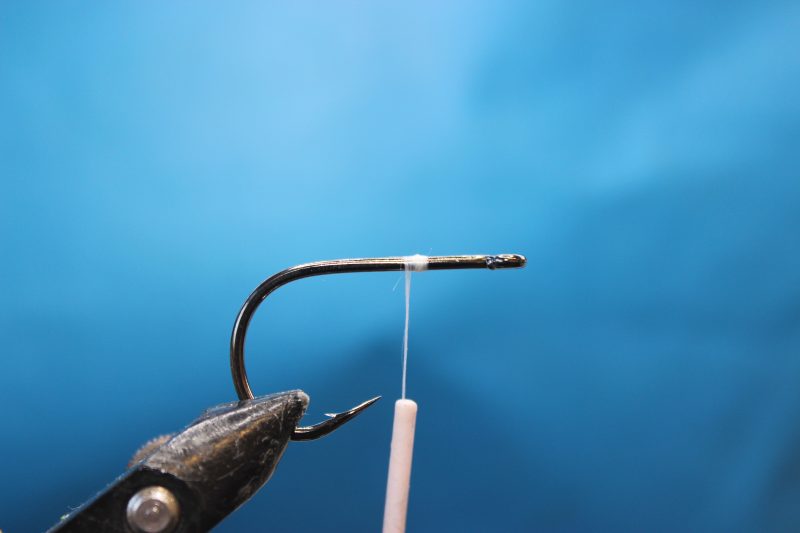
Step 1: Attach your thread about a third of the way along the shank from the eye of the hook. I’m using a 2/0 Sakuma 420 here.
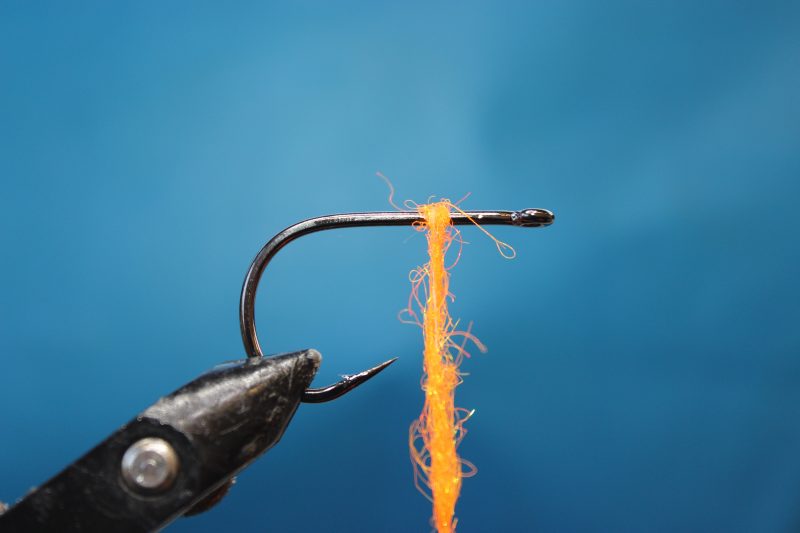
Step 2: Add some dubbing to your thread, I’m using a bright orange and this will show as a hot spot if the fly is approached from behind hopefully triggering an attack!
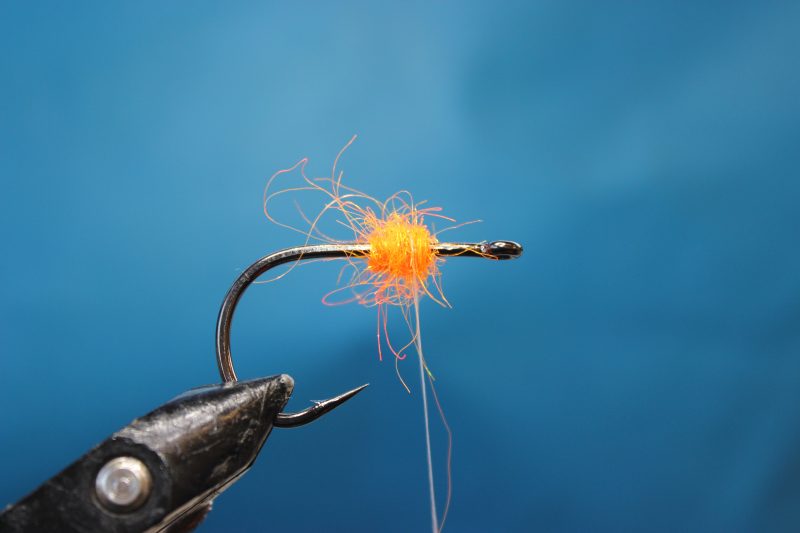
Step 3: Build a Dubbing bump, the bigger the bump the more your materials will flare later.
Step 4: Take your 2 colours of Big fish fibre and cut off two lengths of each.
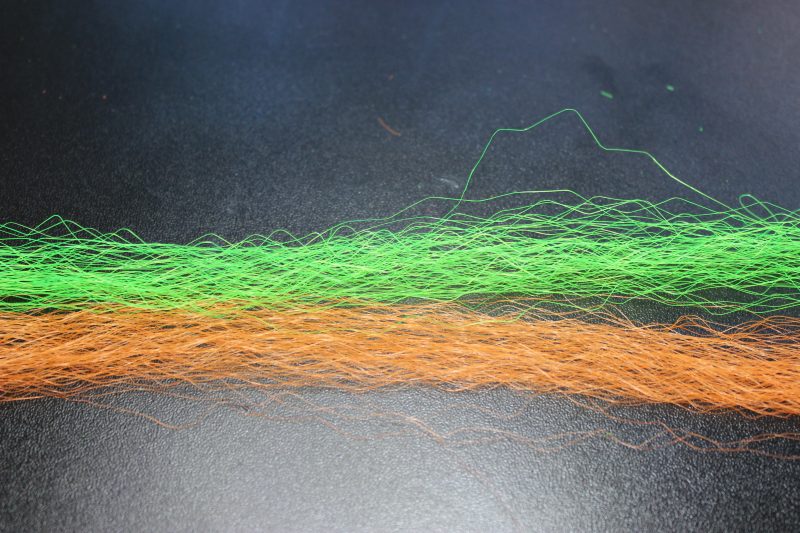
Step 5: Blend them by stripping out a few strands and laying them on top of each other.
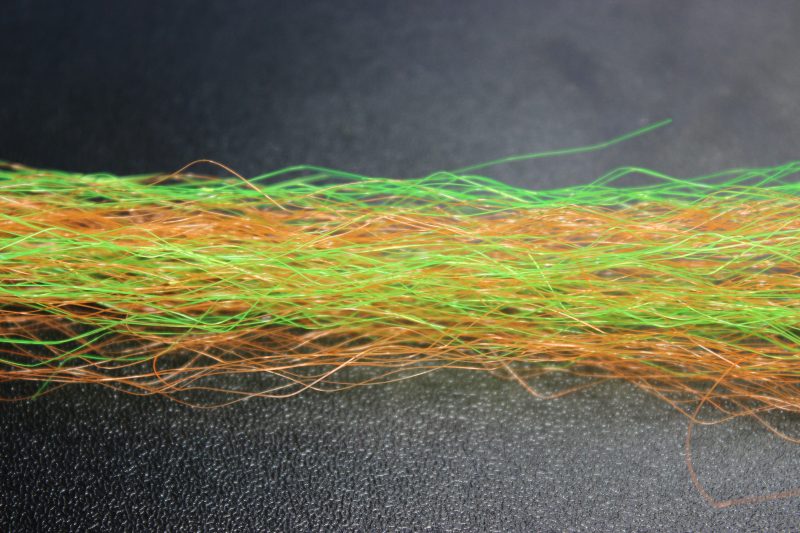
Step 6: Tie in a short bunch 60/40 bias towards the rear of the fly, right in front of the Dubbing bump and cinch it down tight so the fibre flares up over the bump.
Step 7: fold the front bunch down underneath the hook and secure. Again cinch it down tight to the Dubbing bump so it flares.
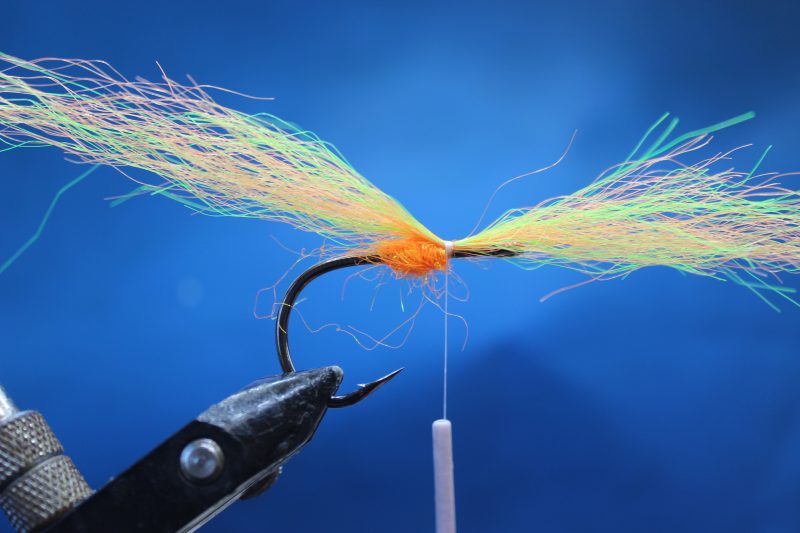
Step 8: Add some longer strands of flash in your choice of colours to form a tail, Silver scales Flashabou is ideal.
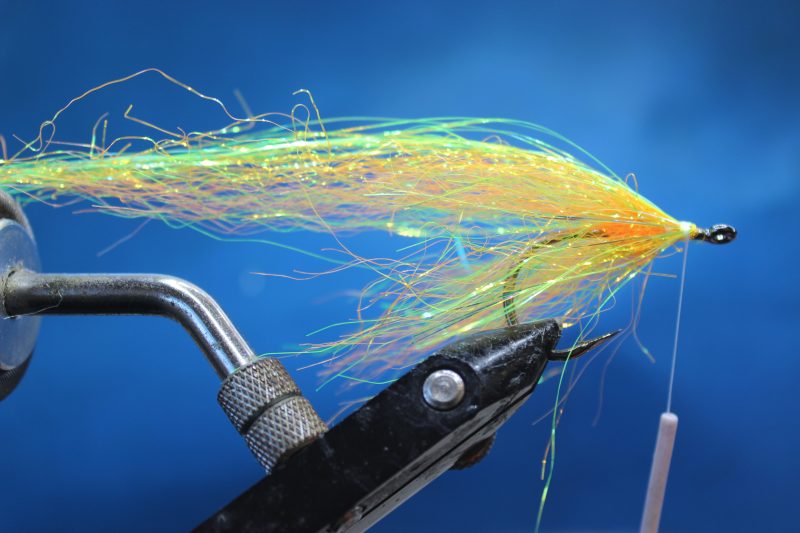
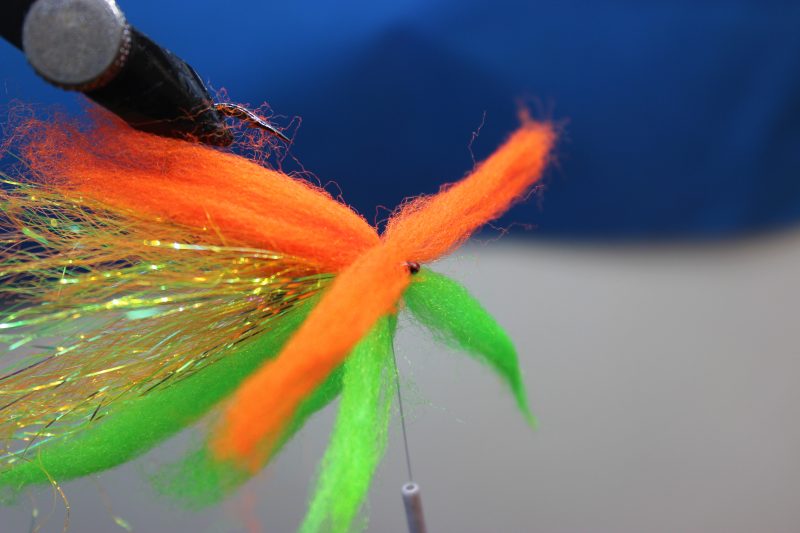
Step 9: Now take your first choice colour of Sybai Trilobal wing hair and cut a short bunch, 3 – 4 inches ( longer if tying a bigger fly than me, or shorter if smaller ), and tie it in on top of the fly 60/40 bias towards the rear of the fly.
Step 10: Repeat underneath the fly with your 2nd choice colour.
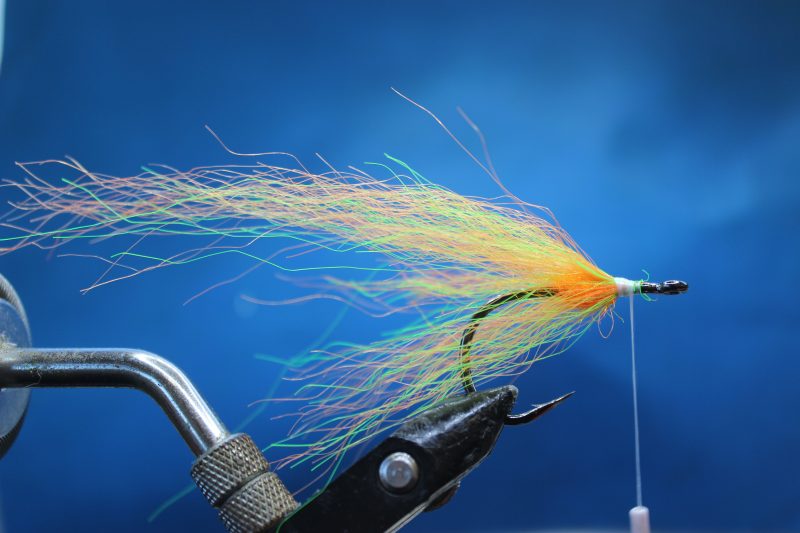
Step 11: Now fold all the pieces back and secure down.
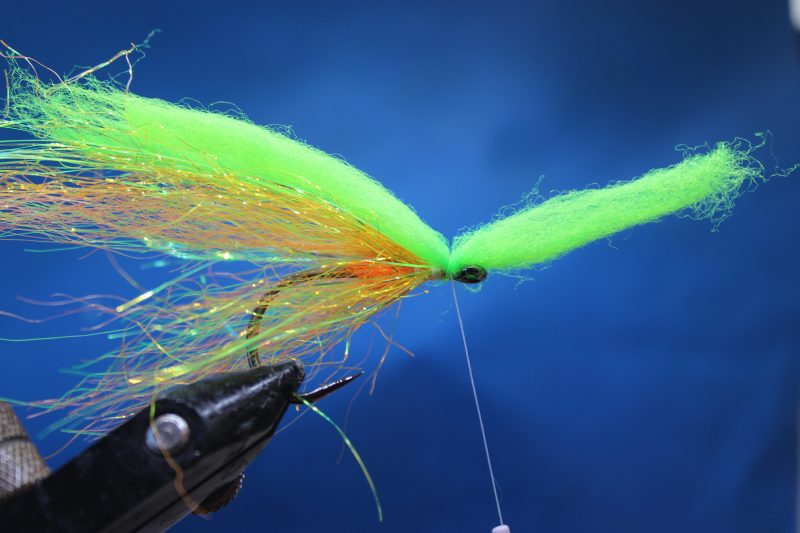
Step 12: Repeat the previous steps but use slightly shorter pieces of the Trilobal hair but before folding the pieces back split the forward facing pieces into two as below.
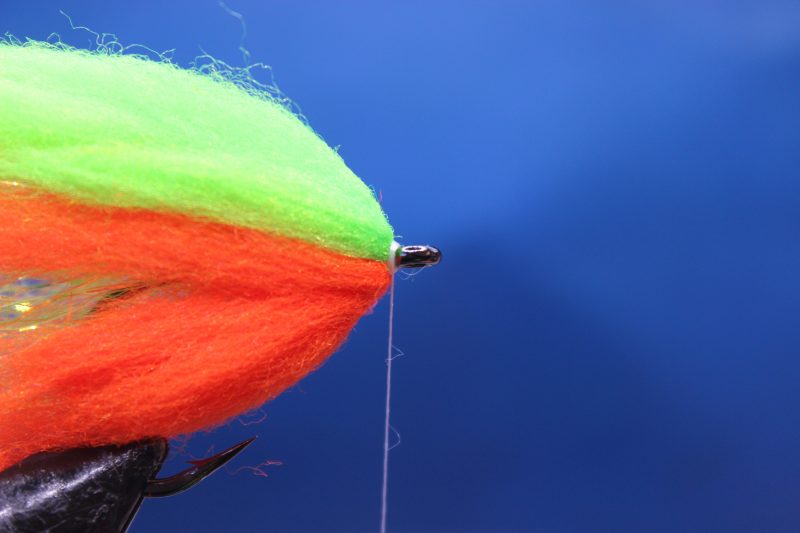
Step 13: Fold the split pieces back so they sit down the side of the fly forming the rest of the head and then secure with a thread cone in front of the material next to the eye, this will hold the fibre back keeping it in place and also give a nice rounded profile to the head.
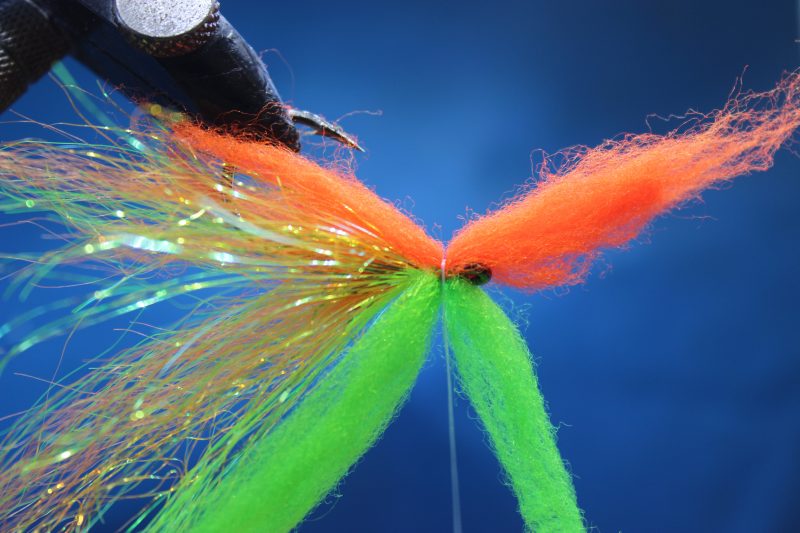
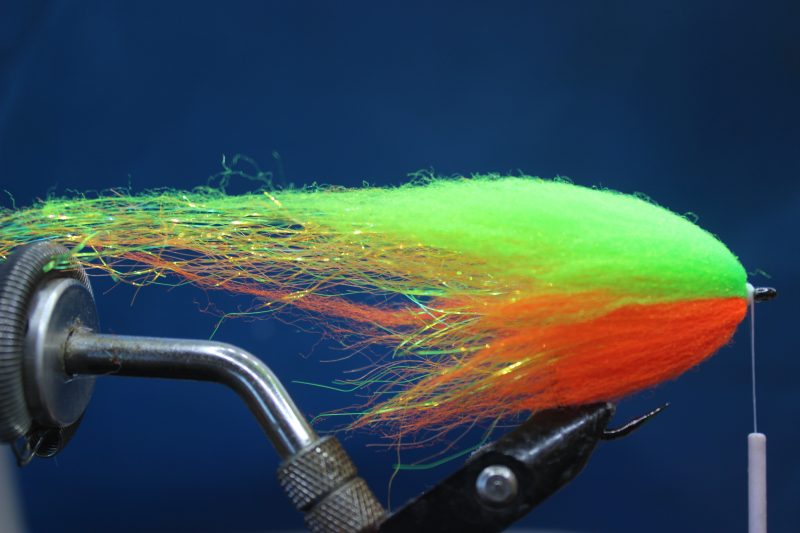
Step 14: Now comb the Trilobal hair, blending the layers into one and shaping the head, note that a little of the fibre will come out in the comb, don’t panic this is normal and loss should be minimal.
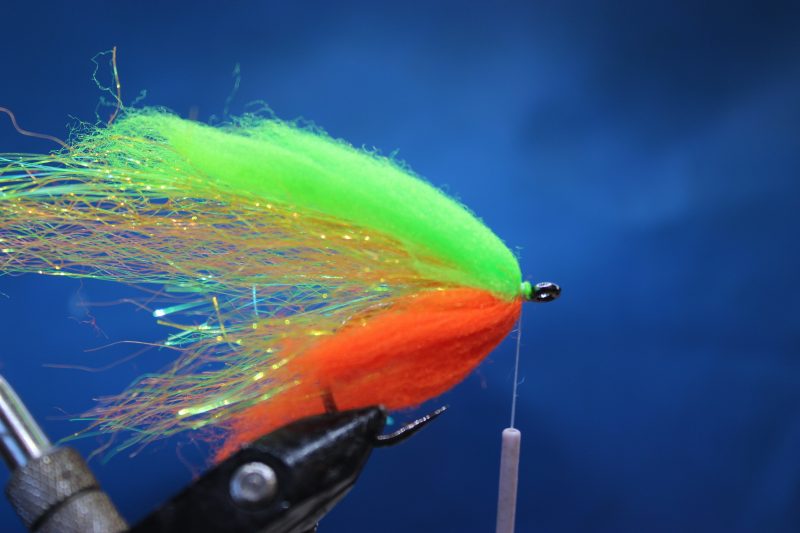
Step 15: Whip finish and add your eyes and finish the nose of the fly with some Solarez.