Here’s a Step by step for a great little pattern that will catch Bass, Seatrout and many other species of predator worldwide. Will also work for Perch or smaller Pike in fresh water.
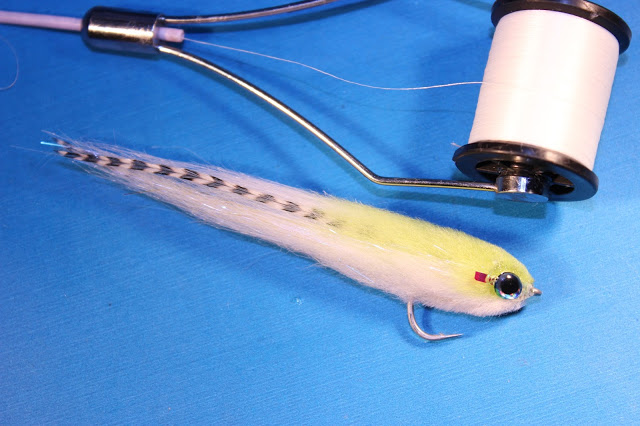
Made with Crafty Minnow fur and Livebait dubbing, both available in the Webshop along with some barred hackle feathers and a bit of flash. Tied on a size 4 Sakuma 410 hook and around 4 inches long.
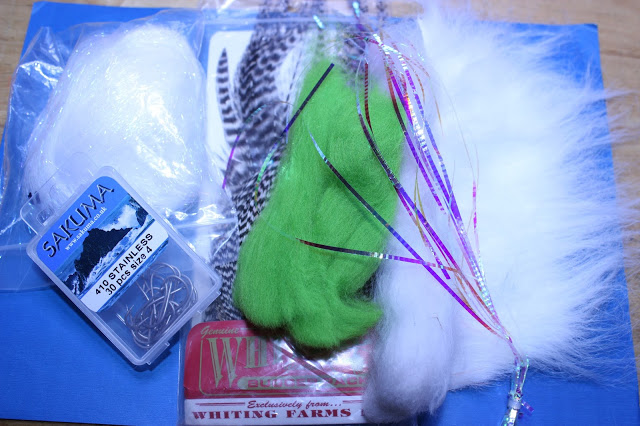
To make this fly you will need, Crafty Minnow fur and Livebait Dubbing along with some barred hackle feathers and some lateral scale flash. If you don’t have barred hackles then substitute a piece of flash or lateral scale instead which is equally as effective ! I blend in a little angel hair for sparkle too but this isn’t an absolute necessity. This fly is tied on a size 4 hook but can be up or down scaled to suit other hook sizes.
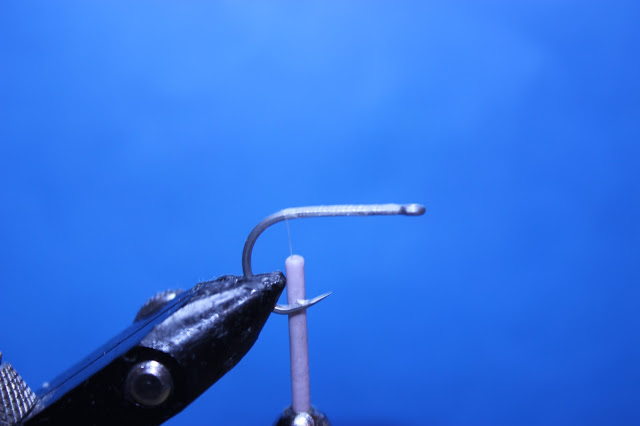
Lay down a thread base on your hook and add some glue for security.
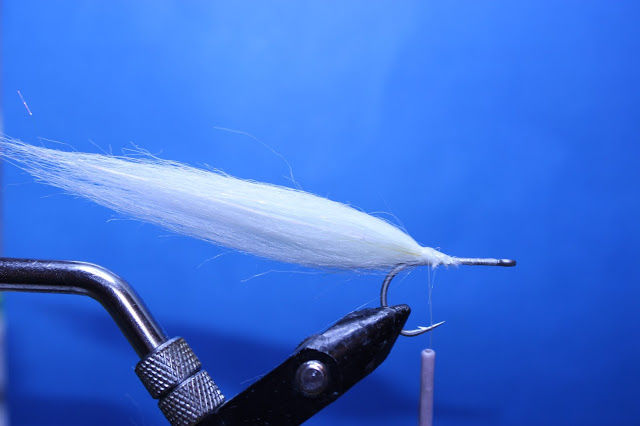
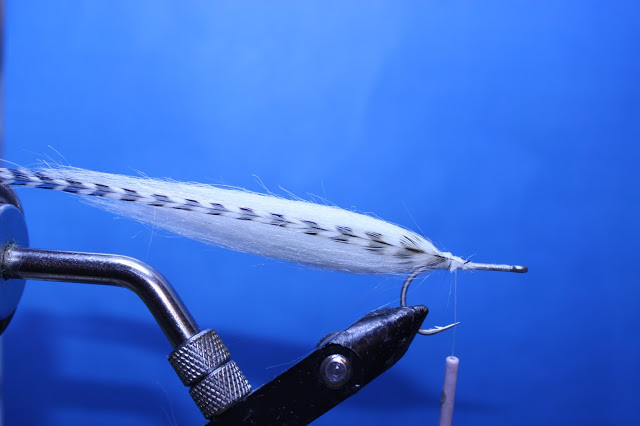
Next tie in some Crafty Minnow fur, I like to tie in several thinner clumps one on top of the other rather than one big clump. Make sure to clean out the under fur from the butt ends. You can also tie in some fine angel hair if you want to add a bit more sparkle to the fly. Come the fur through to blend the fibres together.
Now tie in a barred hackle feather or lateral scale flash on either side of the tail section.
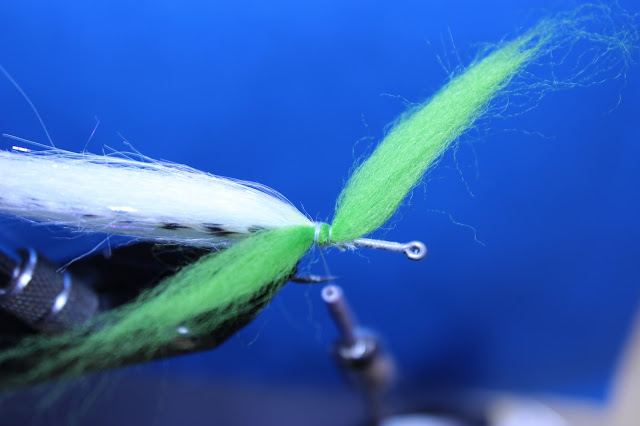
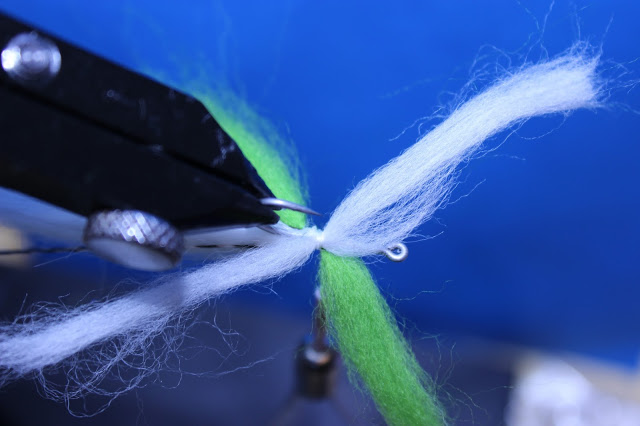
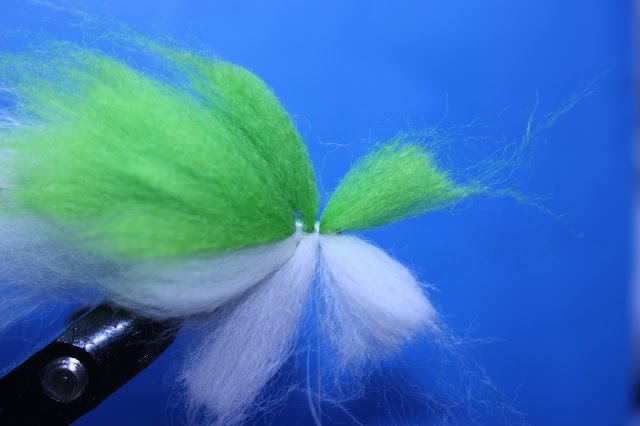
The next step is to take a small clump of Livebait Dubbing of your colour choice for the top of the fly and tie it in diagonally across the shank of the hook. Taper this piece as it will extend the body colour part way down the back of the fly and won’t receive much trimming.
Invert the hook and repeat the previous step with the belly colour of dubbing but place it on the opposite diagonal to the top piece to form an ‘x’ shape.
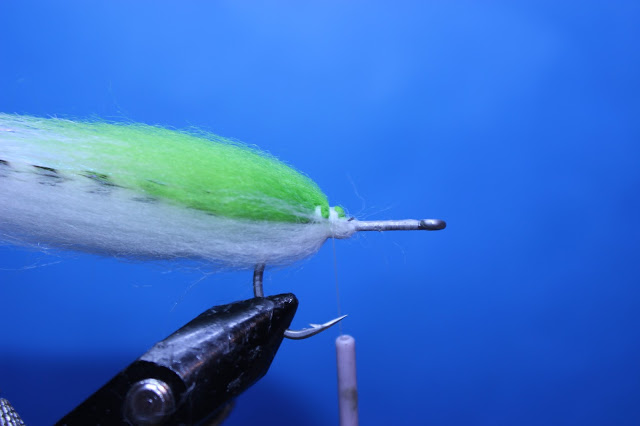
Fold all pieces back towards the bend of the hook and secure with a few wraps of thread around the material to hold it in place, add a little glue to the thread for extra security. Comb the material through to blend the fibres and shape the material into place.
Repeat this process all the way along the shank until you have space left for one more tie just next the hook eye, combing as you go. Don’t worry too much about tapering the material as it’s all going to get trimmed off anyway.
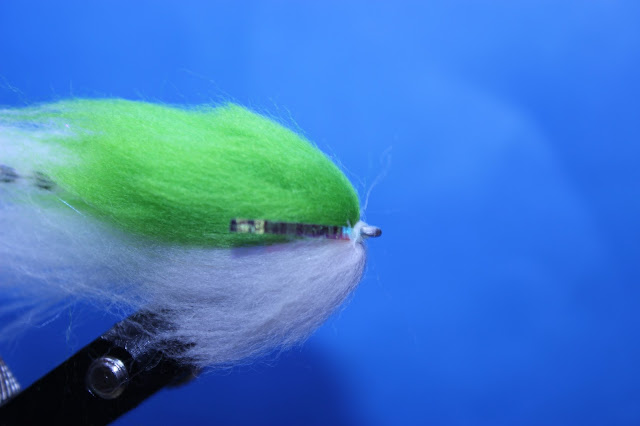
When you reach the last tie, instead of tying the material in diagonally across the shank just tie it inline instead, use a slightly shorter piece too. I also tie in a little lateral scale flash here as well to give the impression of gill covers behind the eyes.
Fold all the material and flash back, bringing the tread forward between the material, but instead of tying it down on itself build a thread dam in front of the material right by the hook eye. Doing this will give a more rounded profile to the head, meaning it will ‘push’ more water and add more movement to the fly.
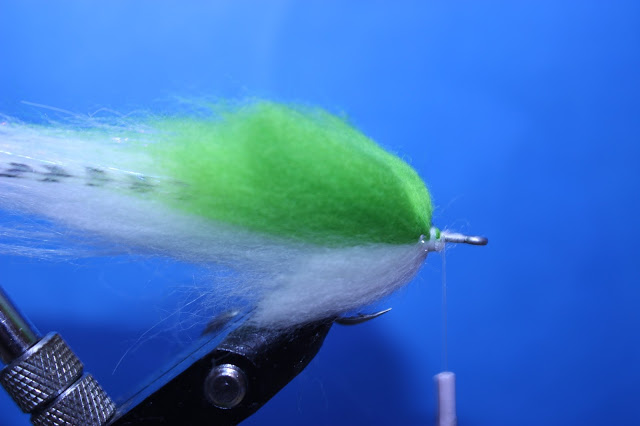
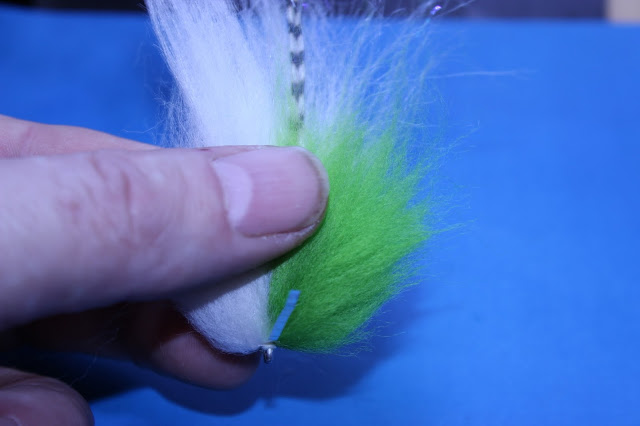
Give everything a good comb ready for trimming. Then squash the fly between your thumb and fingers to force the fibres upward to make it easier to trim.
I begin trimming the fly from front to back, head to tail, some people do it the other way but I find this the best way for me. Hold the scissors level and take some of the excess off to begin with before attempting any major shaping of the fly. The best advice I can give to anyone who hasn’t attempted this type of trimmed fly before is to simply take your time. Remove a little material at a time and try to envisage what it is you want the fly to look like and the shape you want it to be. Only practise will make perfect I’m afraid so don’t be too disappointed if your first attempts aren’t quite what you want. My own first tries were not at all what I wanted but persistence paid off in the end.
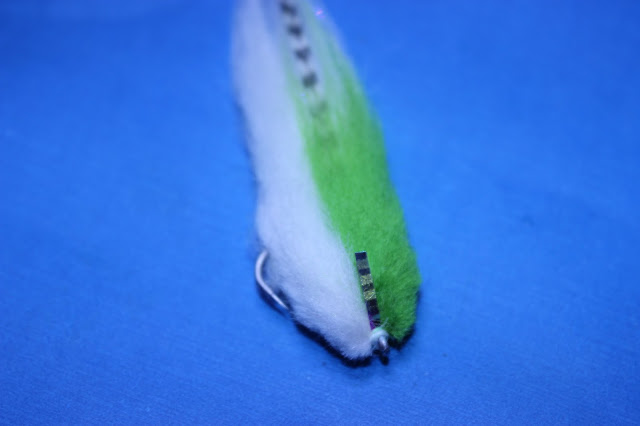
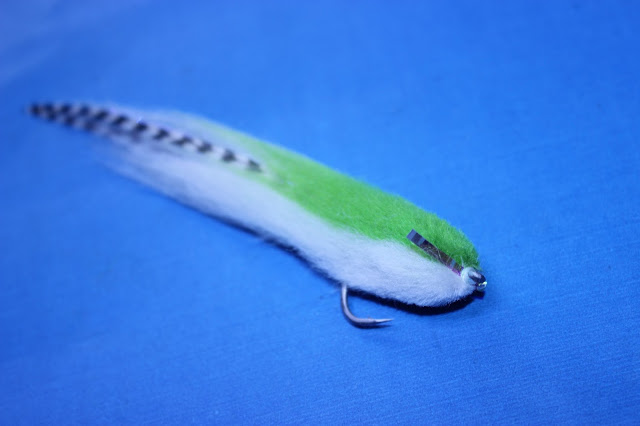
Early stages of trimming, having removed some of the excess material.
Getting there
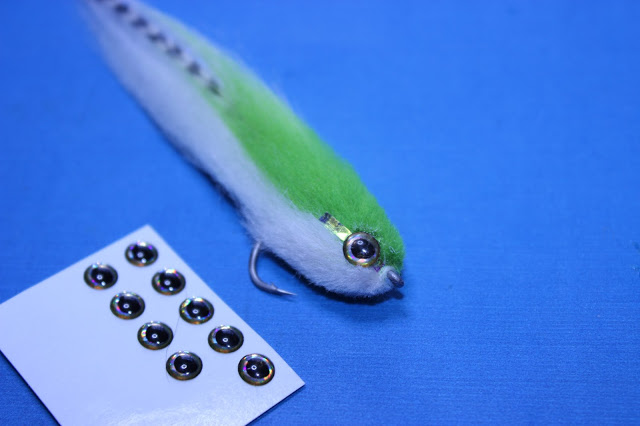
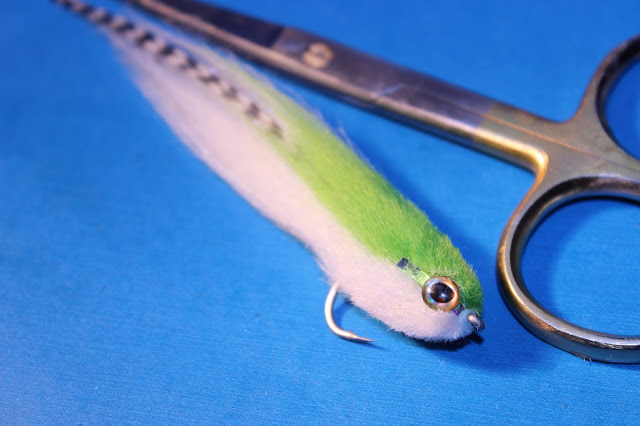
Once you are happy add some eyes to finish.
I hope you enjoyed the SBS, this is a fun fly to tie and a sure fire fish catcher. If you have any questions please don’t hesitate to contact me.

