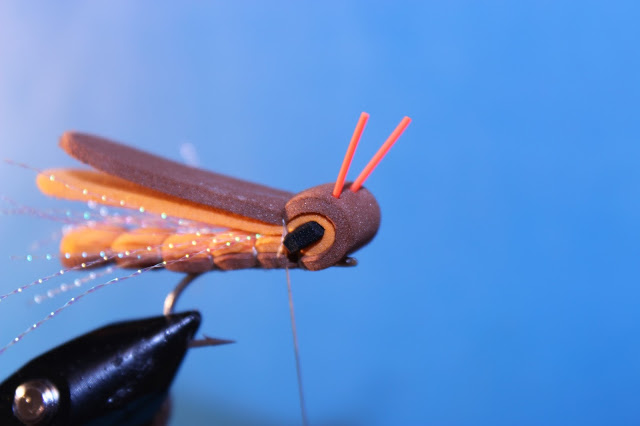
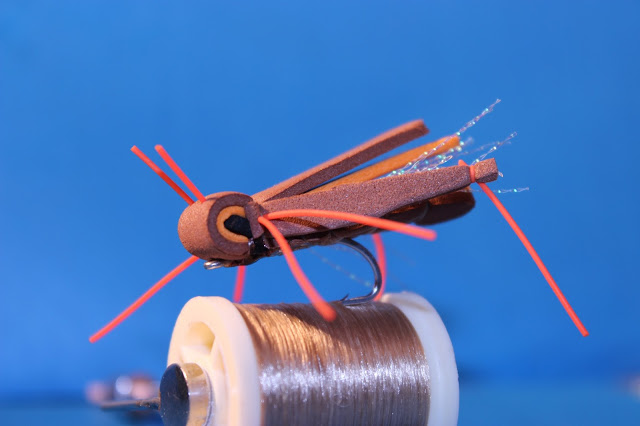
Here is a step by step for a nice little Foam Grasshopper pattern that will catch pretty much any species that is partial to sucking insects from the surface of a river or lake !
You will need :
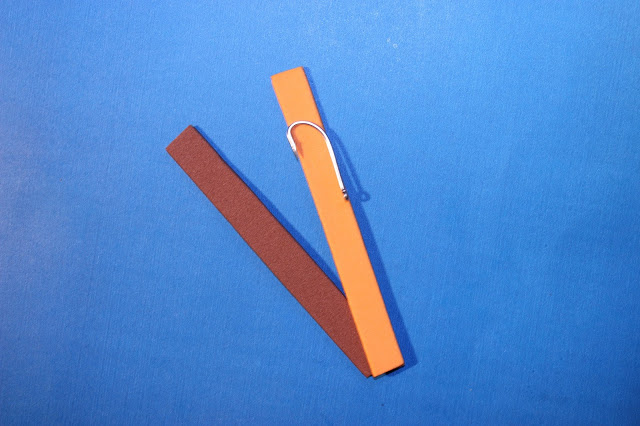
2mm craft foam in two colours plus black for the eyes.
Medium round rubber legs
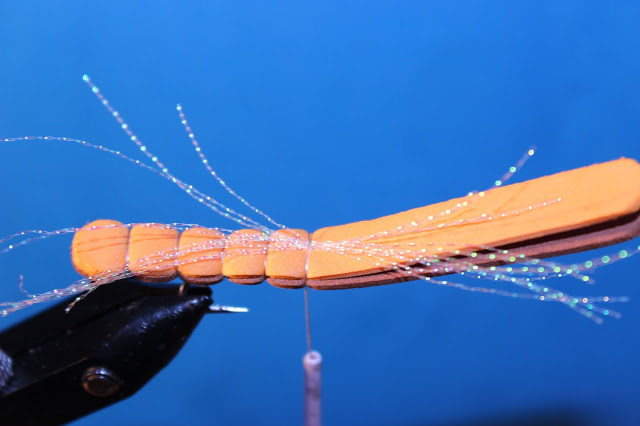
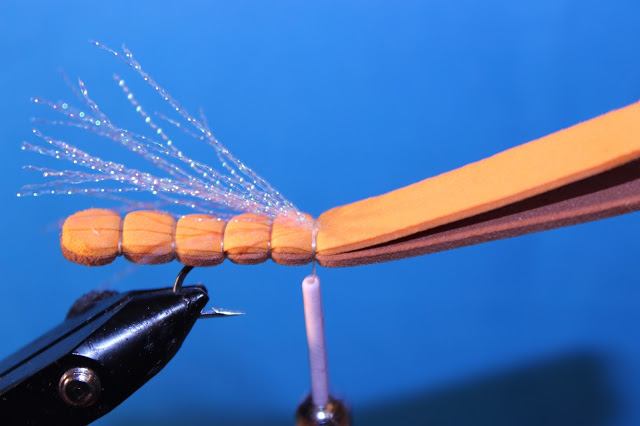
Pearl crystal flash
Thread 140 denier
Hook of your choice and size but any medium shank hook will suffice
Super glue
UV resin
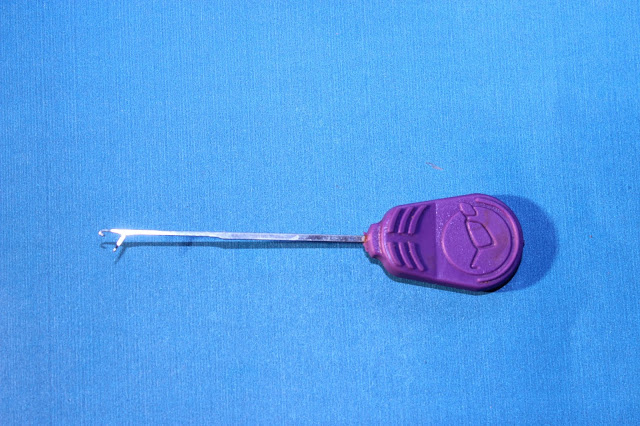
A gate latch needle or large eye sewing needle
Fine grade sandpaper
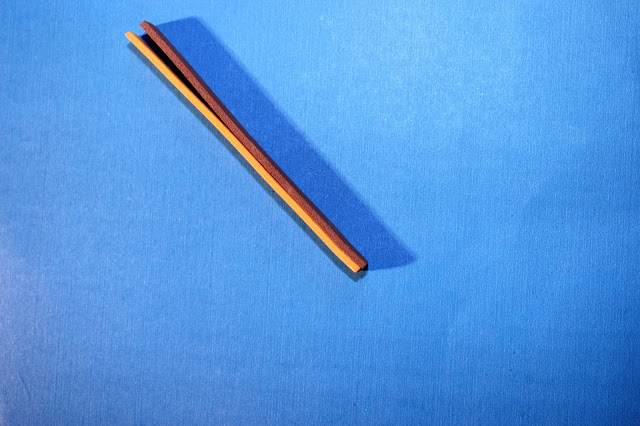
Glue one end of the two strips together
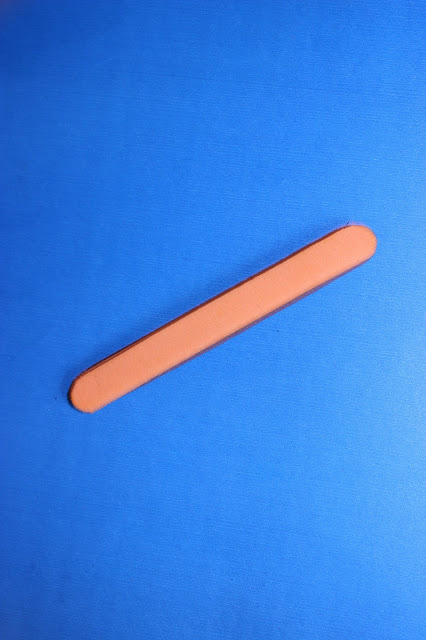
Trim the corners at both ends and then use fine grade sandpaper to round them off
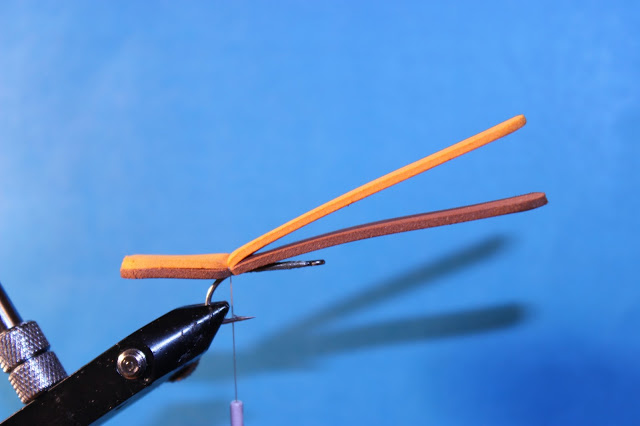
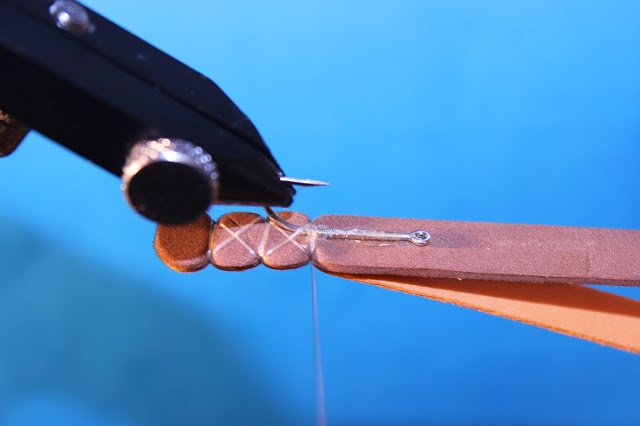
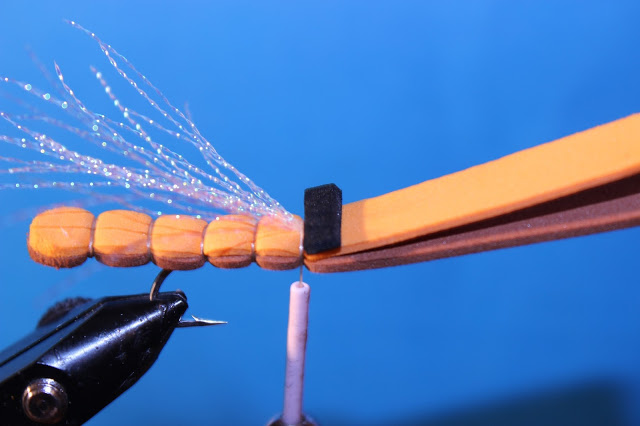
Lay down a thread base on your hook and place the foam on it with about 3/4 to an inch of foam sticking beyond the bend of the hook. Make a few wraps to begin forming the segmented body and also secure the foam to the hook. I add a drop of glue where the thread crosses the shank to add a bit of extra security and keep things steady while making the next few wraps.
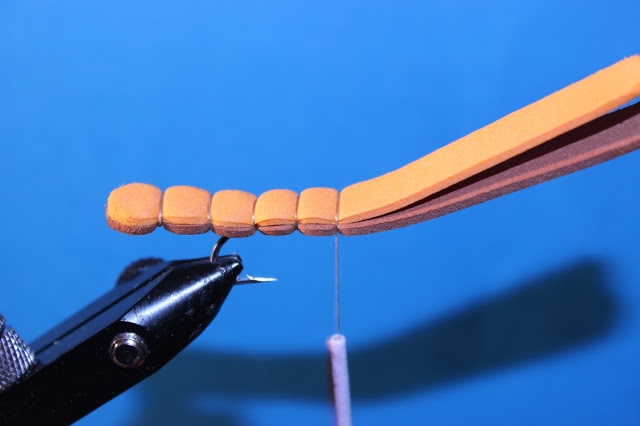
To make it easier to make the next wraps to form the segments on the tail I reverse the hook in the vice. Make two wraps down the tail section but don’t tighten them down too much and then wrap back again up towards the hook bend crossing the thread over on the underneath of the foam.
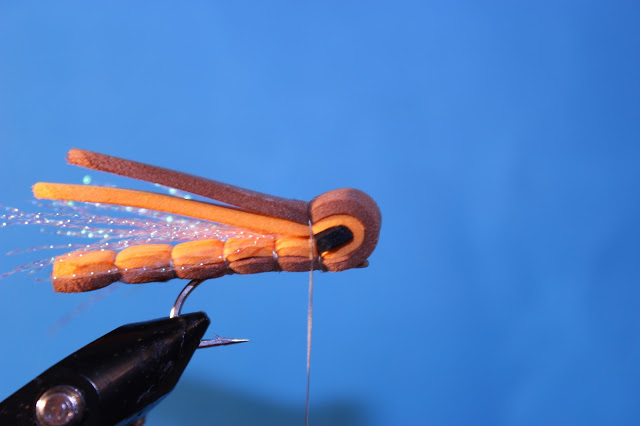
Now fold both pieces of the main body foam back over the small black piece. Make just a couple of wraps to temporarily form the head.
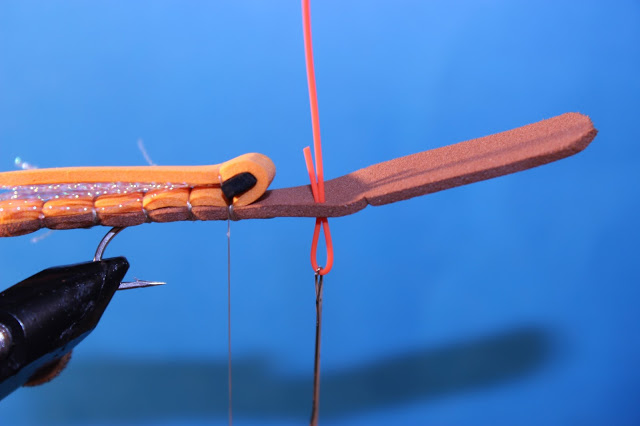
Pull both ends of the rubber through
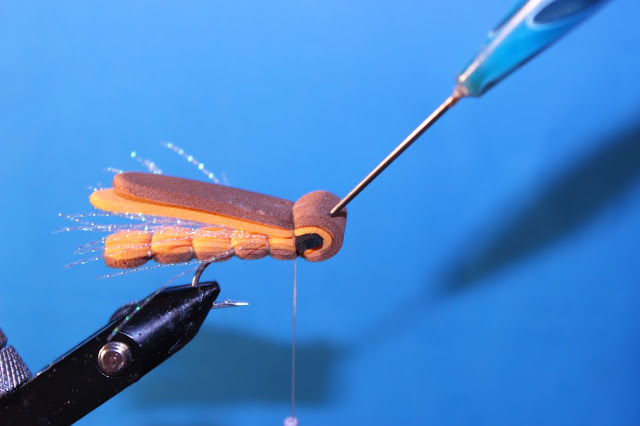
Undo the wrap on the bottom layer of foam and fold the top piece back over and secure with a few wraps re forming the head. Try and make the small piece of black foam sit at an upright angle rather than horizontal so it looks more like real Grasshopper eyes.
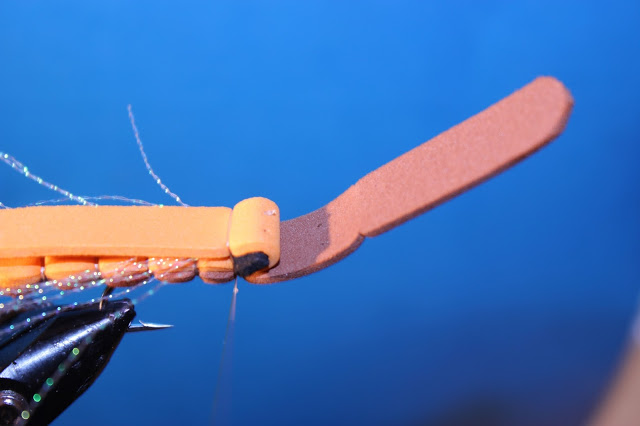
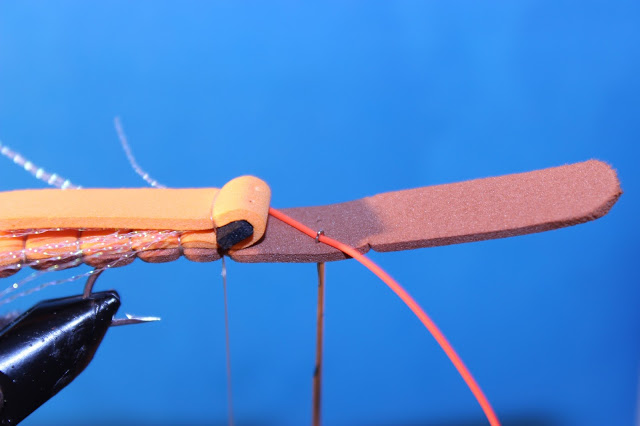
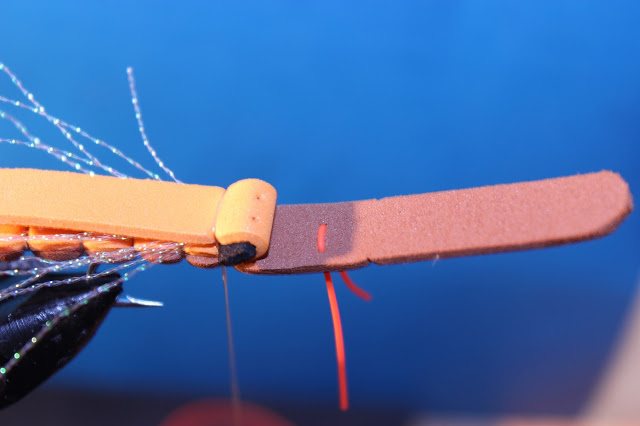
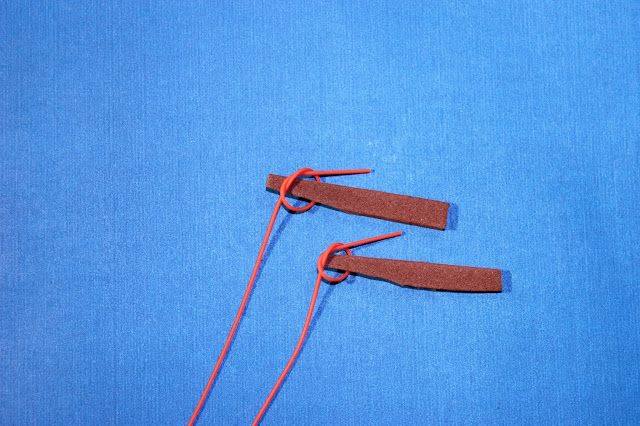
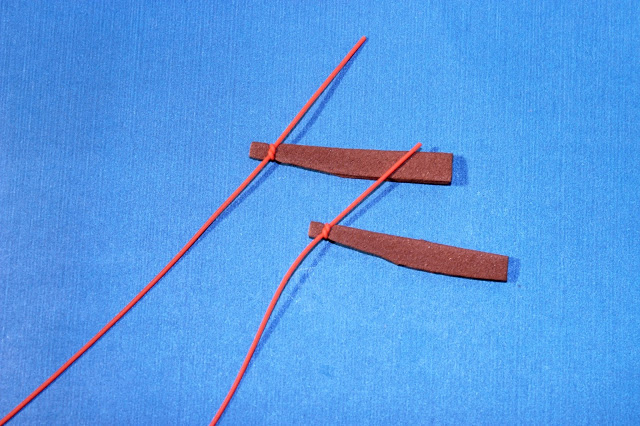
To make the rear legs for the Grasshopper cut a couple of small strips from a single layer of foam and then trim the ends to taper them. Tie on some pieces of medium round rubber to complete the legs as in the pictures below. Add a drop of glue to the knot to secure them in place.
Tie the legs in with a few wraps
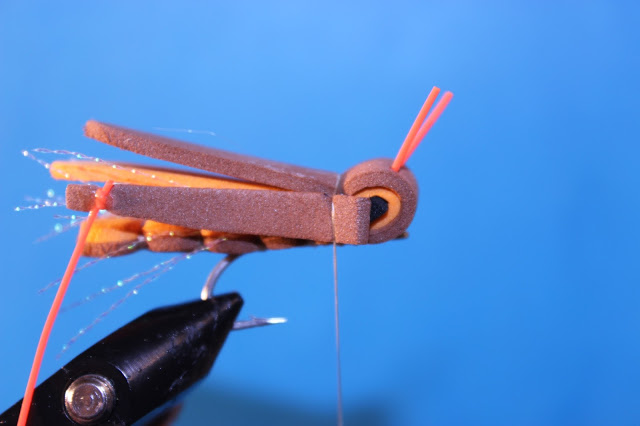
Trim the excess foam so it doesn’t cover the eye and then tie in a single piece of round rubber on either side to make the front legs.
Once all the legs are secure bring the thread underneath the head and whip finish by the hook eye. Trim all the legs to the length you want and finally add some glue wherever the thread crosses the shank under the fly to add some extra security and then add a thin layer of UV resin over the threads to tidy everything up and add a final bit of strength.
This is a fun little tie and even more fun to fish with !

