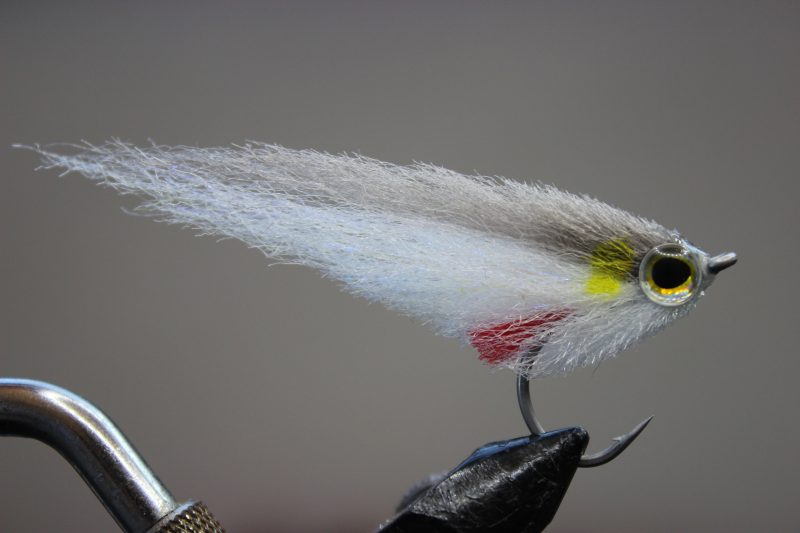
Here is the Step by Step for a very effective Mullet pattern fly. The way it’s tied creates a very ‘kicked out’ hook angle which I have found promotes good hooking. The fly has a narrow head on profile which creates a darting side to side action, but has a deep side on profile to catch the Bass’ attention! Overall length on a size 2 hook is 3″ I have found this to be a good all round size.
Materials Needed:
Size 2 – 1/0 Sakuma 410 Stainless steel hook – your choice what size you want to tie on, I tie these on a size 2 so adjust material length according to bigger or even smaller hook.
Silver Scales Preyfish fibre White, Baitfish Grey, Red.
Silver Scales Silver/Gold eyes 6mm – 8mm ( again depending on fly and hook size ).
Yellow Sharpie permanent marker.
Step 1.
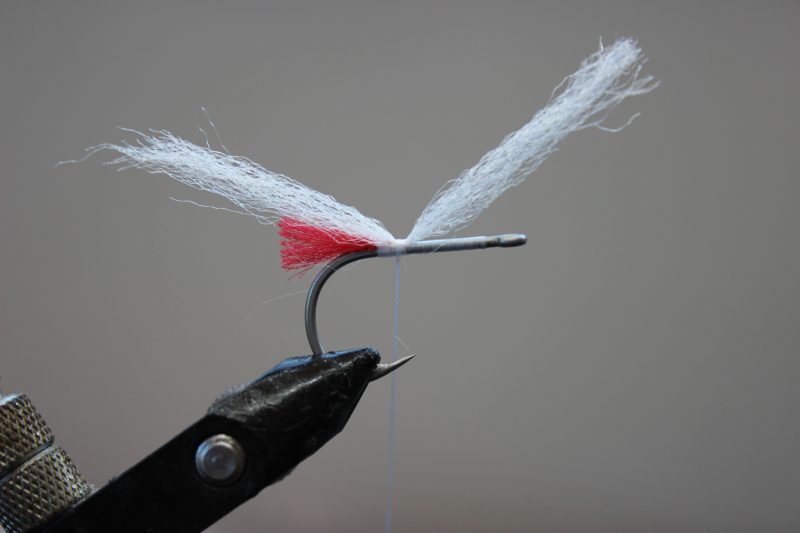
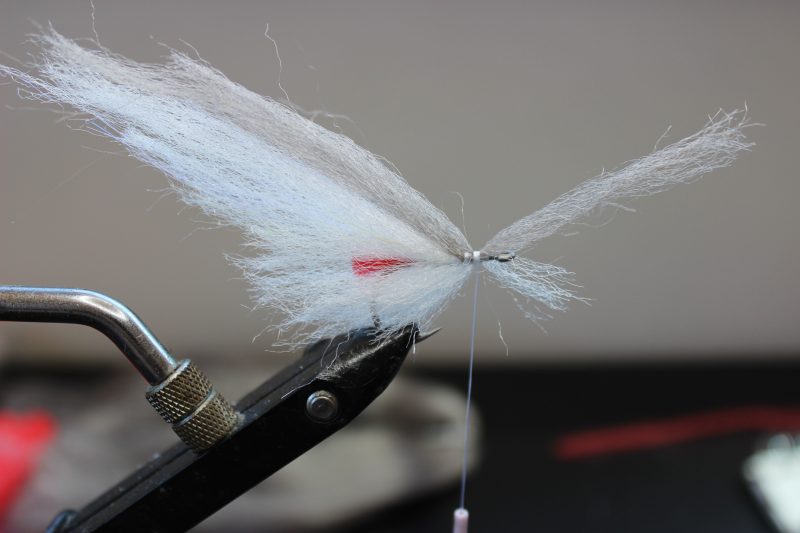
Lay down a thread base from the eye to the barb of the hook. Tie in a thin 1cm piece of Red Silver Scales Preyfish fibre. This will be the Gill/hotspot.

Step 2.
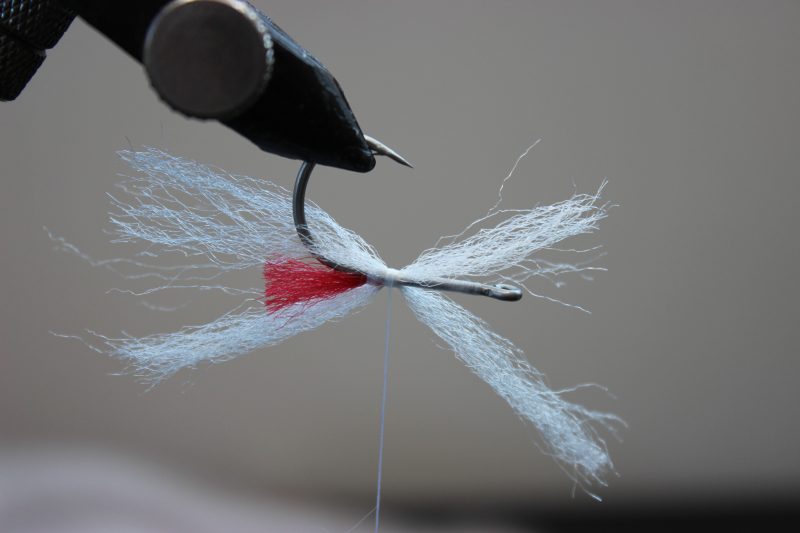
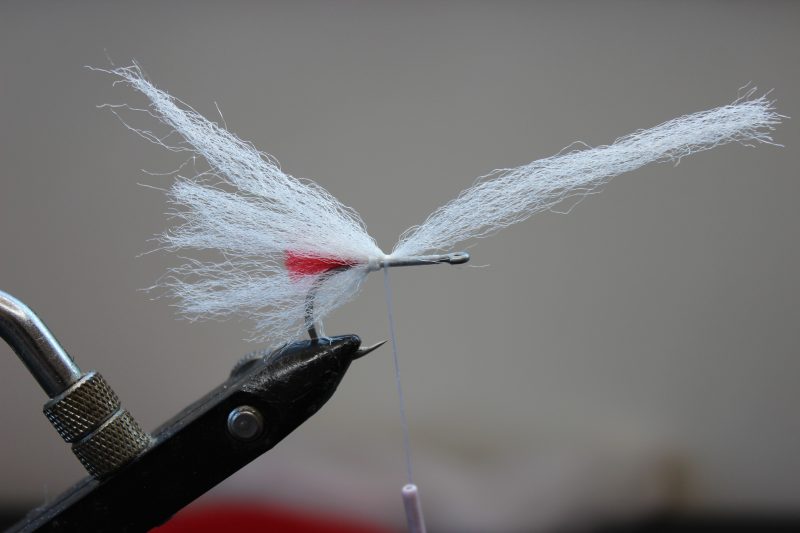
Take a half pencil thickness of Silver Scales Preyfish fibre in White and cut a piece approx. 5cm long, tie in with a few wraps as below so that the piece facing backwards is slightly shorter than the forward piece.
Step 3.
Invert the hook and tie in a slightly shorter 4 cm piece as in previous step but this time but this time leave the forward facing piece slightly shorter than the rear facing piece.
Step 4.
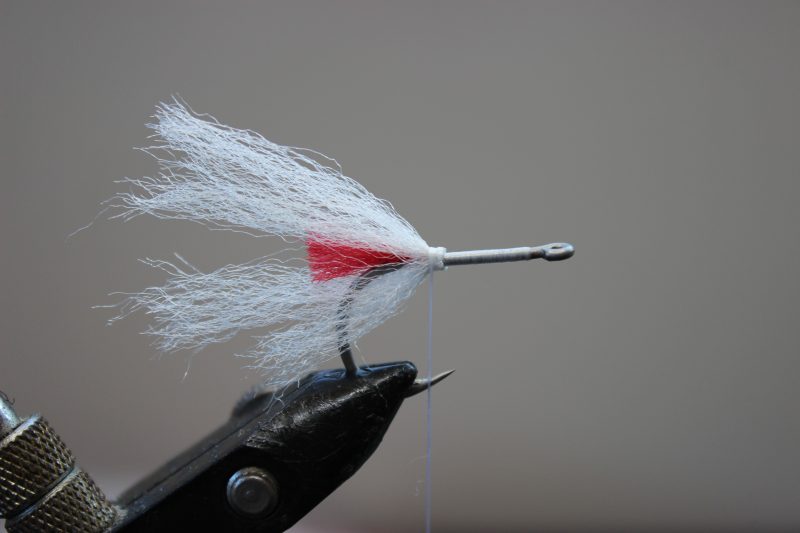
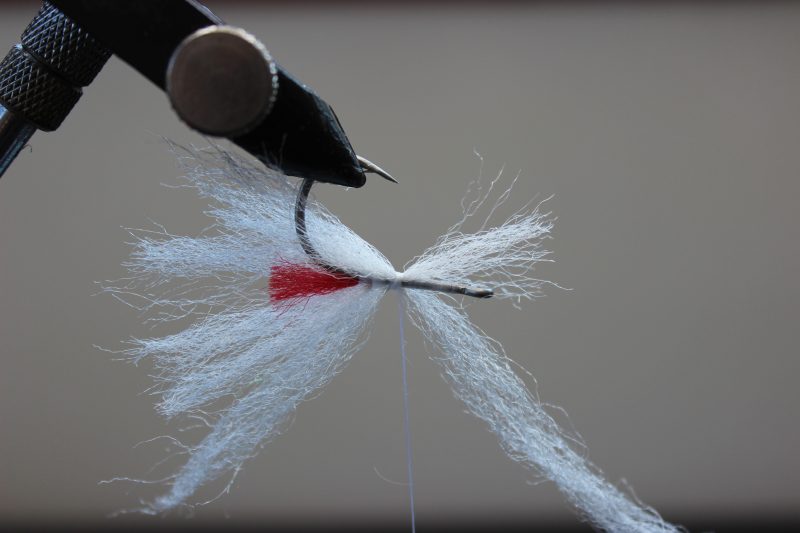
Return the hook to normal position and fold back the two forward facing pieces and tie them down as in the picture below, add some glue for security.
Step 5.
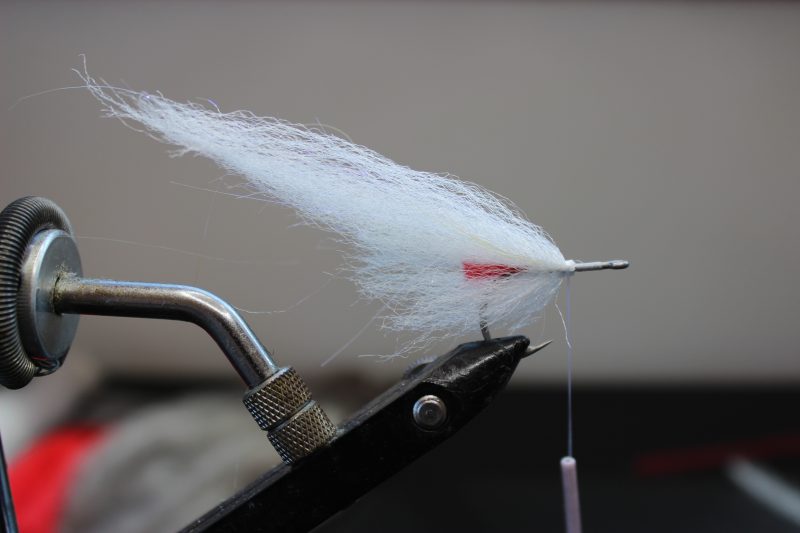
Take a piece of White Preyfish fibre the same thickness but slightly longer than in step 2. It should be long enough so that the rear facing piece overlaps by a cm or so and the forward facing piece, when folded back overlaps by another cm or so. ( See step 7 ). Also add a few strands of Sybai Angel hair in the same way. Tie in as below with a few wraps.
Step 6.
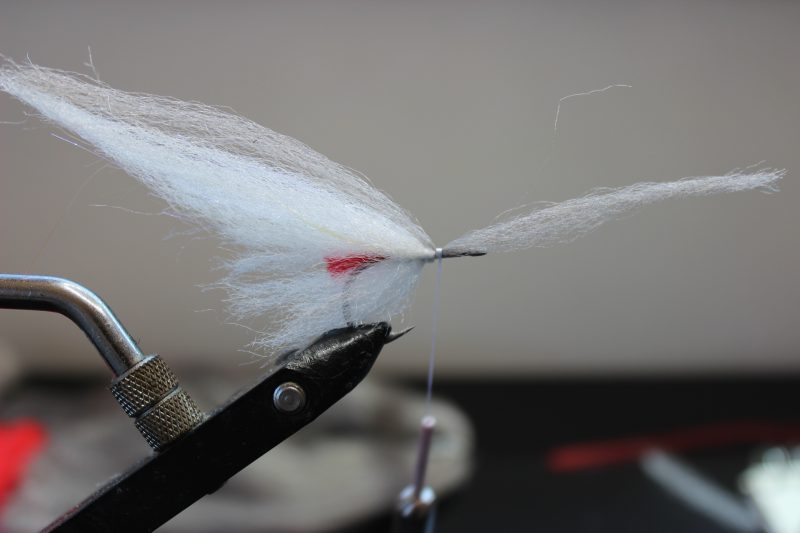
Invert the hook and tie in a short 3cm piece, keep the lengths equal this time though for folding back.
Step 7.
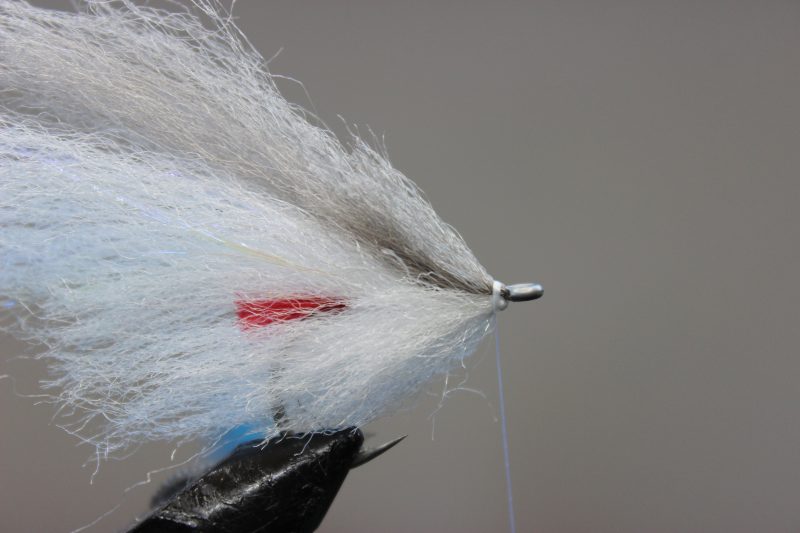
Fold back forward facing pieces and tie down as in Picture below. Add glue for extra security.

Step 8.
Repeat steps 6 and seven, increasing the length of the fibre on top and keeping the same length underneath. Your fly should start to look something like the picture below. Don’t forget to add a few strands of Sybai Angel hair as you go.
Step 9.
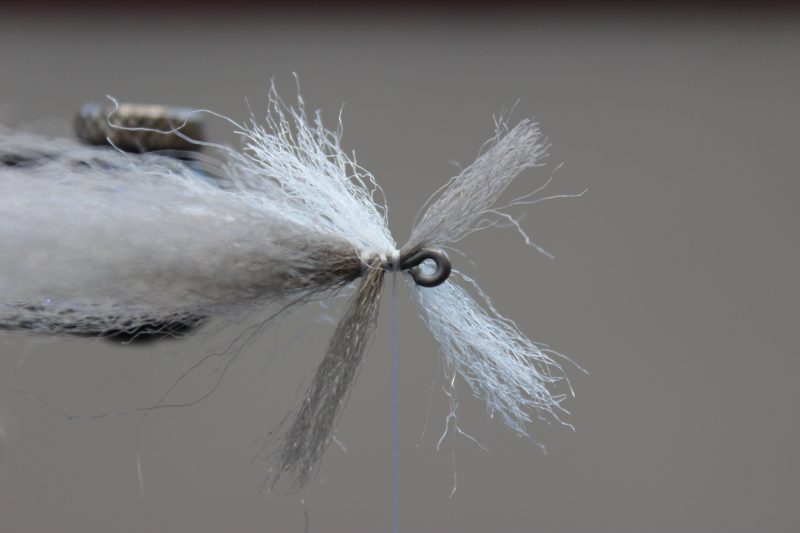
Take a length of Baitfish Grey Preyfish fibre and tie in on top of the hook as previous steps., BUT! this time reduce the length of the forward facing piece.. This is going to help shape our fly.
Step 10.
Invert the hook and tie in another short piece of White fibre. Return the hook to normal position and fold forward facing pieces back and tie in adding glue for security. Once done, repeat this step again reducing the length of the grey piece on top again but the same length of white underneath. As in pic below. Fold forward pieces back and tie down again.
Step 11.
Now we are going to change to a different tie. We are going to tie in short pieces of grey on top and white underneath ‘x’ style at 45 degrees across the shank of the hook.
Step 12.
Fold the pieces back and tie down.
Step 13.
Repeat step 12.
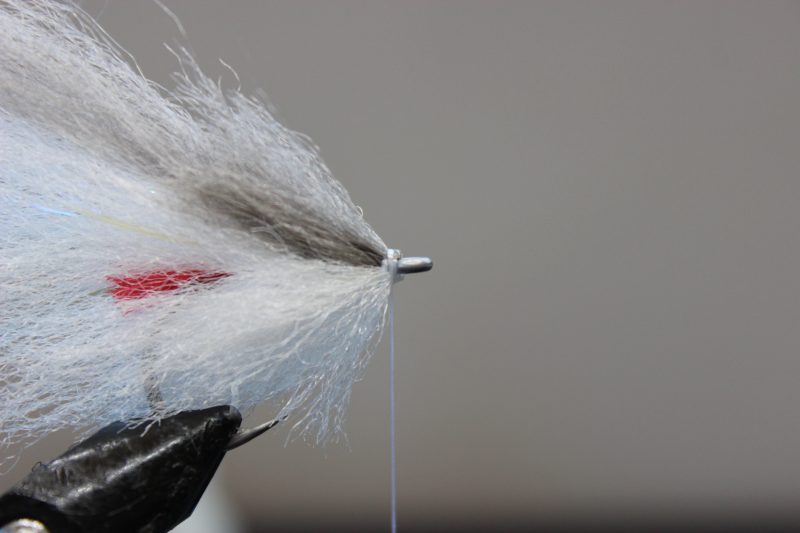
Step 14.
Now tie in another short piece of grey fibre on top and white underneath BUT! This time tie them in normally NOT at 45 degrees as below.
Step 15.
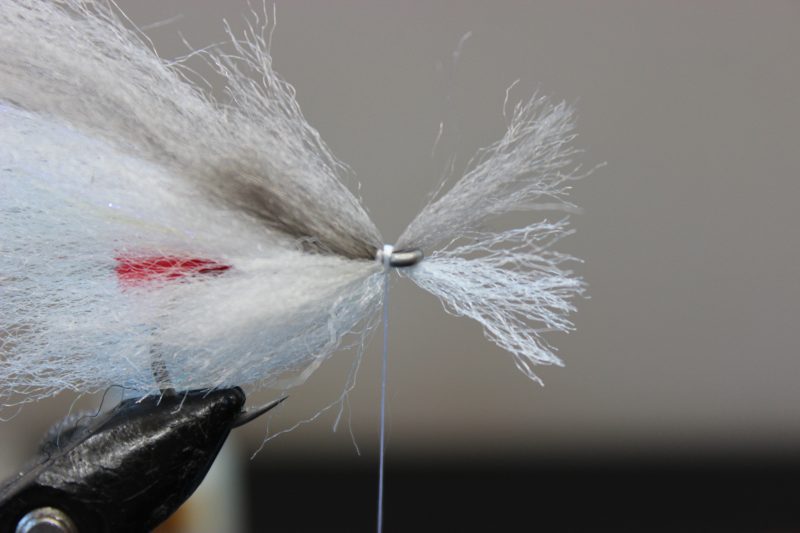
Fold back and make your final tie in adding glue for security. Whip finish and trim thread.
Step 16.
Remove the fly from the Vice and give it a good comb, spreading the fibres out evenly. Begin trimming carefully along the back and belly of the fly.
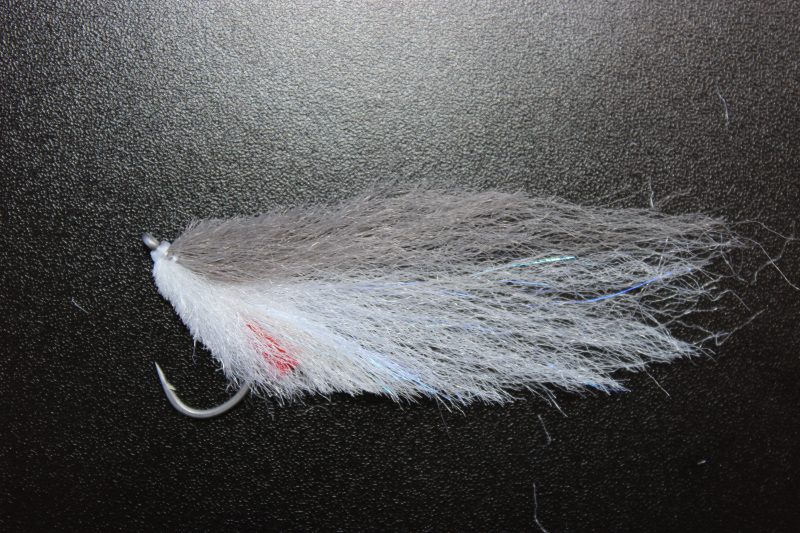
Step 17.
Shape the fly as you go, take your time and try to envisage the shape you want, taper the fly towards the tail as in the pic below.

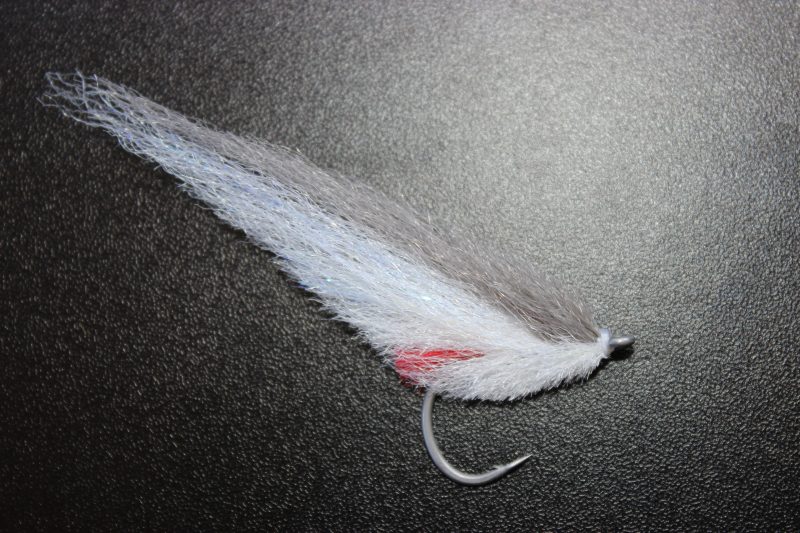
Step 18.
Eventually you should end up with something close to the picture below.
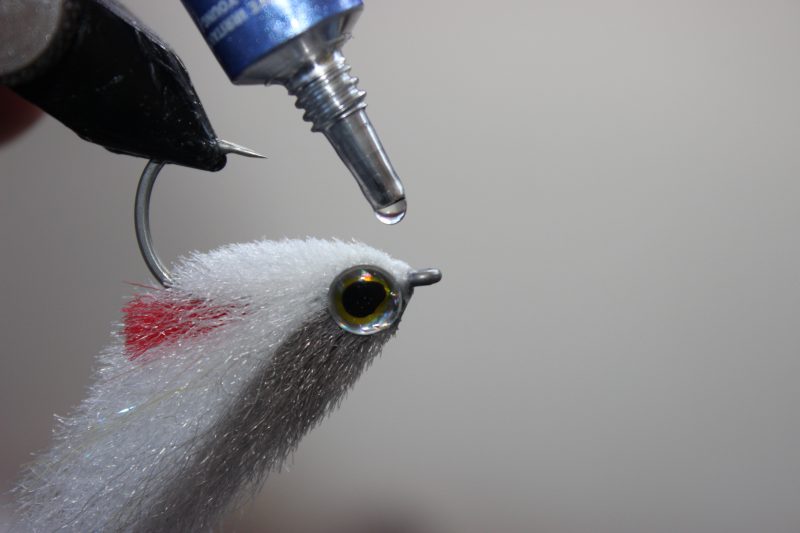
Step 19.
Return the fly to the Vice and add your eyes. Once your eyes are glued in place take some Solarez Thin and begin applying small amounts to the nose of the fly, top and bottom, let the resin run down into the fibres and around the back of the eyes. Set the resin with the torch. This will add extra security to the eyes and help give the head a more solid shape which creates the darting side to side movement that this pattern produces.
The finished fly.